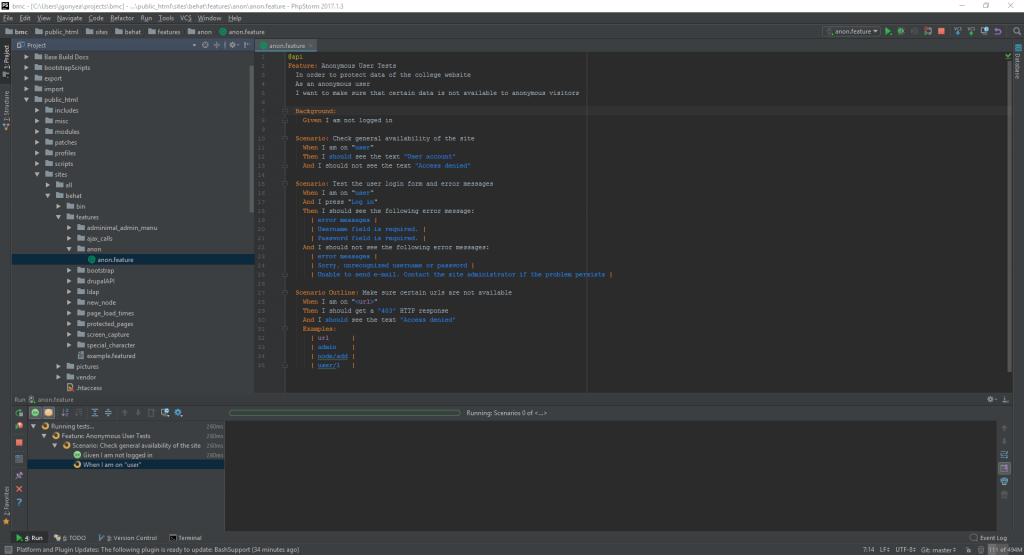
Behat tests can be initiated right from PHPStorm, saving a lot of hassle, as well as simplifying access to tests for less technical users. Behat v3.3 does come pre-installed via composer and is found at /usr/local/bin/behat. If you wish to use your own version of Behat, you’ll need that path later. At Bryn Mawr, we have behat as part of our repository, so we use that path instead of the default /usr/local/bin/behat one.
Here’s some things you’ll need to have before starting:
- PHPStorm open and licensed
- RV project up and running
- Behat path in the vagrant box
- Behat.yml path
- A Behat feature to run
PHPStorm Setup (File->Settings)
- Press the button for Project Root and press OK
- Settings Changes (File-Settings)Editor > Code Style
- Click Manage and import PHPStorm-Drupal.xml from [Project]/buildFiles/configs folder
- Version Control
- Remove the Project Root folder, add public_html
- Build Execution & Deployment > Deployment
- Add a new connection > Local or mounted folder
- Set Project file folder to point to [Project]/public_html
- Set Web server URL to http://website.vbox.local
- Change Deployment path to “.” under the mapping tab
- Language and Frameworks > PHP
- Change PHP level to 5.3 (RV uses PHP 5.3 by default. Change this if you decide to upgrade to a different version)
- Add CLI Interpreter
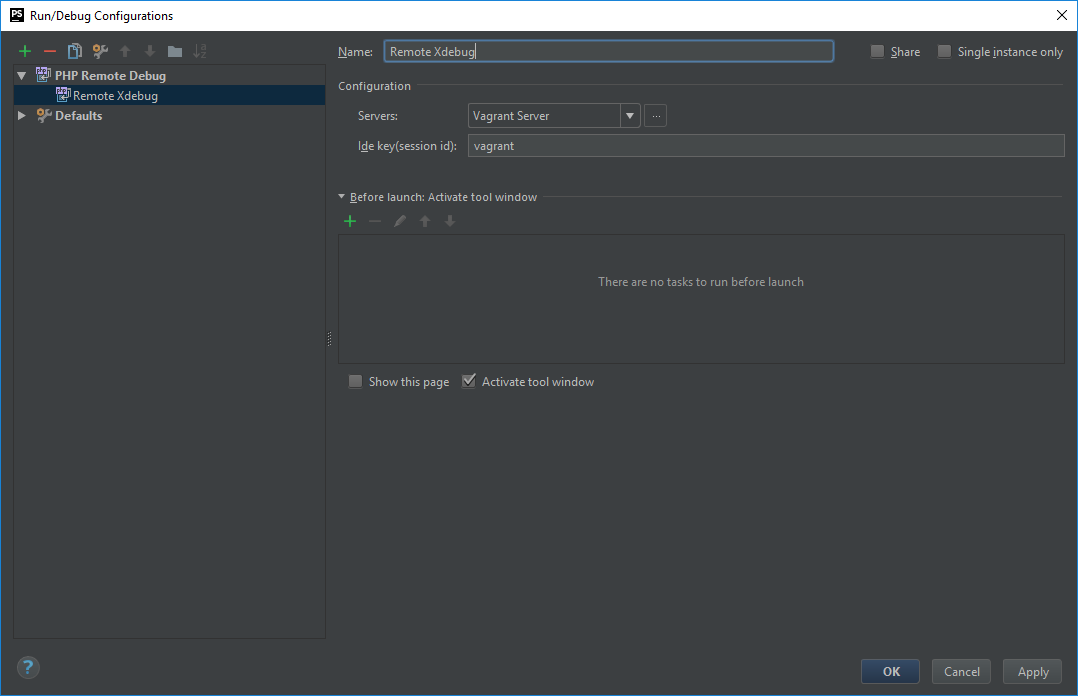
- Remote > Vagrant
- Change name to “Rampant Vagrant”
- Select the CLI interpreter to “Rampant Vagrant”
- Add a path mapping for [Project]/public_html to /vagrant/public_html
- Behat Configuration
- Click to add a new Behat instance
- Select “Rampant Vagrant”
- Set path to be the appropriate behat path
- Set default runner path to the path of your behat.yml file
- Close Settings
You should now be able to run behat tests in the vagrant box right from PHPStorm.
Happy Testing!


