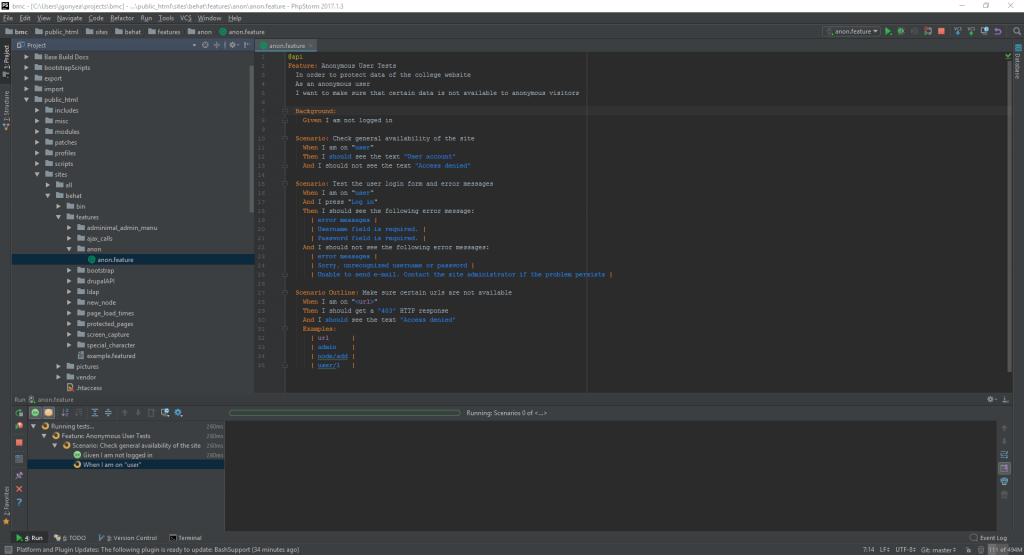
Integrate PHPStorm, Behat, and Vagrant

Behat tests can be initiated right from PHPStorm, saving a lot of hassle, as well as simplifying access to tests for less technical users.  Behat v3.3 does come pre-installed via composer and is found at /usr/local/bin/behat.  If you wish to use your own version of Behat, you’ll need that path later.  At Bryn Mawr, we have behat as part of our repository, so we use that path instead of the default /usr/local/bin/behat one.

Here’s some things you’ll need to have before starting:

  • PHPStorm open and licensed
  • RV project up and running
  • Behat path in the vagrant box
  • Behat.yml path
  • A Behat feature to run

PHPStorm Setup (File->Settings)

  1. Press the button for Project Root and press OK
  2. Settings Changes (File-Settings)Editor > Code Style
    1. Click Manage and import PHPStorm-Drupal.xml from [Project]/buildFiles/configs folder
    2. Version Control
      1. Remove the Project Root folder, add public_html
  3. Build Execution & Deployment > Deployment
    1. Add a new connection > Local or mounted folder
    2. Set Project file folder to point to [Project]/public_html
    3. Set Web server URL to http://website.vbox.local
    4. Change Deployment path to “.” under the mapping tab
  4. Language and Frameworks > PHP
    1. Change PHP level to 5.3 (RV uses PHP 5.3 by default.  Change this if you decide to upgrade to a different version)
    2. Add CLI Interpreter
      1. Remote > Vagrant
      2. Change name to “Rampant Vagrant”
    3. Select the CLI interpreter to “Rampant Vagrant”
    4. Add a path mapping for [Project]/public_html to /vagrant/public_html
    5. Behat Configuration
      1. Click to add a new Behat instance
      2. Select “Rampant Vagrant”
      3. Set path to be the appropriate behat path
      4. Set default runner path to the path of your behat.yml file
  5. Close Settings

You should now be able to run behat tests in the vagrant box right from PHPStorm.

Happy Testing!

Netbeans is here!

A new IDE

I found Codiad to be limited in its capability, but I wanted to find another free IDE to use with the project.  I came across Netbeans. After a little wrangling, the RV project has a new IDE option!

I removed Codiad from installing and have left it up to the end user whether or not to add an IDE.

Installing Netbeans

In order to get Netbeans installed, the script found at [Projectroot]/bootstrapscripts/CentOS/netbeans81.sh should be called from within the VM. This installs netbeans to the [Projectroot]/apps/netbeans81 folder, as well as pre-configures it with many settings.  The script is already suggested in the local.vagrant.yml.example file under the IDE category.

Running Netbeans

To run netbeans, you have a few options:

Run from the Host Machine

Since the application is installed to the [Projectroot]/apps directory, you can manually run the application by finding the appropriate executable under the [Projectroot]/apps/netbeans81/bin directory.  Please note that the host machine requires Java 8 or similar equivalent (e.g. openjdk 1.8) installed.  This will not come pre-configured for the vagrant project.  If you wish, you can extract and copy the configs from the [Projectroot]/buildFiles/configs folder and move them to your host’s user home directory.

Run from the vagrant box

If you choose to run Netbeans from the vagrant box, you must connect with a remote X session and then run:

$ netbeans

A remote X window session can be initiated by either using the ssh flag -X

$ ssh -X vagrant@website.vbox.local

or you can configure a Putty session using the instructions here, coupling it with XMing on Windows.

Setting up Putty for Rampant Vagrant

SSH keys are sometimes required for steps throughout the project. Make sure that you have created the key, and that it exists on your host at ~/.ssh/id_rsa. On Windows, I highly recommend that Putty is used for ssh-ing into RV instead of using git-bash/ PHP-Storm. Putty offers a one-time pass-phrase login via Pageant that carries over to other machines via agent forwarding.

  1. Convert key to Putty compatible key
    1. Open Puttygen and select the Conversions menu
    2. Import the id_rsa key ~/.ssh/id_rsa
    3. Select the “Save private key” and save the file as ~/.ssh/private.ppk
    4. Copy the Public key shown in the window and save as ~/.ssh/authorized_keys. Do not use the “Save public key button”.
  2. Create Putty connection to the vagrant box
    1. Hostname: 127.0.0.1
    2. Port: 2222
    3. Under Connection menu in the left pane:
      1. Data->Auto-login username: vagrant
      2. SSH->Auth
        1. Check the box for Allow agent forwarding
        2. Browse and select your private.ppk key file
      3. SSH→X11
        1. Enable X11 Forwarding
        2. Set the X display location to “localhost:0.0”, minus the quotes.
      4. Select Sessions again on the left panel
      5. Name the save session: website.vbox.local
      6. Click Save button
  3. Configure remote box for SSH key access
    1. Append the contents of your host’s ~/.ssh/authorized_keys to the VM’s ~/.ssh/authorized_keys.
    2. Logout of the vagrant box.
  4. Run Pageant on your local machine and load your private.ppk file.
  5. Open Putty and double click on the newly created saved session name (website.vbox.local) under Default Settings.

The server should auto-connect without prompting for a password/ passphrase.